Anyone who knows me really well can tell you that I love playing with paper. I managed a stationery store for a couple years, so I guess I come by it honestly. One of the skills that I picked up while working there was gift wrapping. Truthfully—and I’m truly not trying to brag here—I was pretty incredible at gift wrapping. I designed several styles of specialty wrap that ended up getting used in the major metropolitan markets, the places where celebrities would often pay hundreds of dollars to get their gifts wrapped. (And of course, everything I created while working there is property of that company, so I can’t even post pictures without their permission. Which…blows, to be frank).
It seems like a pretty silly life skill to have…and to be sure, I would absolutely trade that skill for other, more important ones (like being frugal! Or being able to organize my life! Or charming the pants off people!).
But even I was shocked at how useful a skill it can be, and how much people will pay someone to do it well. (Seriously. It’s insane what people will pay for well-wrapped gifts.) I wrapped favors for weddings, boss/supervisor appreciation gifts, holiday gifts for company employees, centerpieces for a ballet fundraising event, wedding party gifts, and hostess gifts for soon-to-be mother-in-laws. There are times when having a perfectly wrapped gift makes all the difference!
So it only seems appropriate to share the wealth! Wrapping beautifully really isn’t very difficult, and it’s something that anyone can learn.
First things first: materials
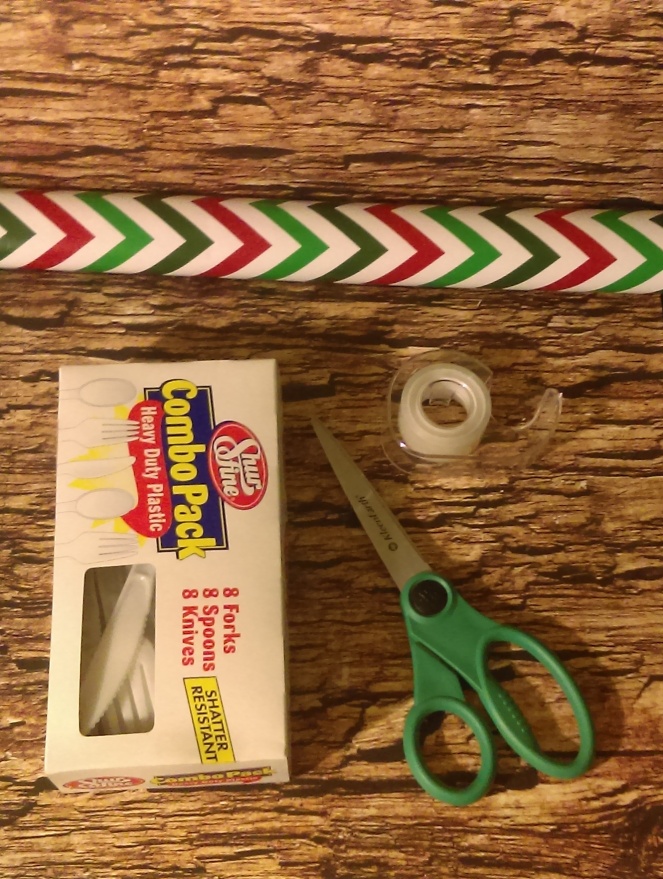
Yes, I am in fact wrapping a box of plastic silverware, as an example. You’re free to do the same, but I beg you, don’t give that as a gift.
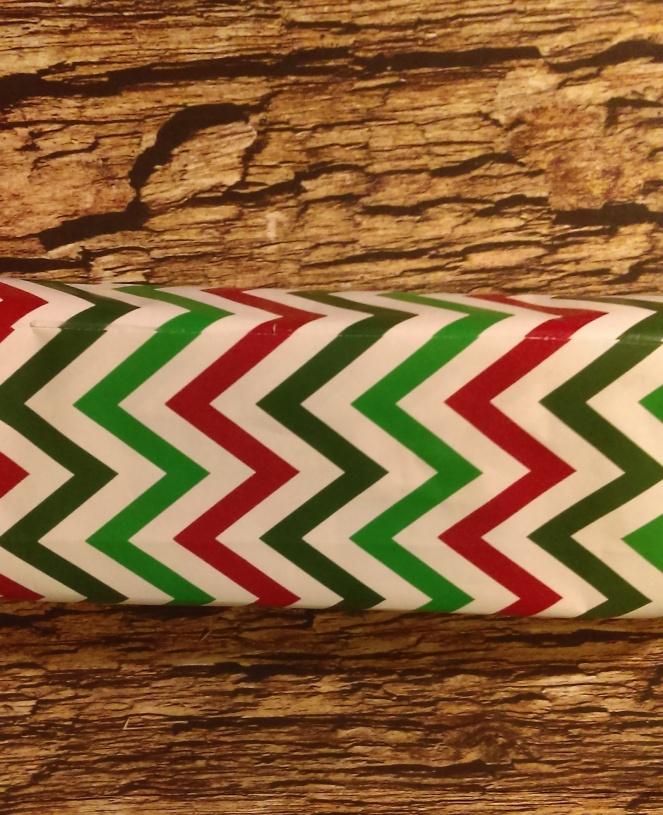
In full disclosure, the paper I use here is…not the best. I’ll call a spade a spade and just admit that it’s scrap wrap. BUT, it makes it very easy to see what I’m doing, which is why I used it. As a general rule, thicker paper and solids (or a large pattern like snowflakes or florals) are much more forgiving, especially when you’re learning. Chevron is the opposite of forgiving, so do as I say, not as I do!
As far as tape goes, if at all possible, use the clear invisible tape, not the cloudy kind. Yes, the cloudy kind is usually higher quality and sticks a lot better, but the clear kind will look better and stick just fine.
If you have double sized tape, absolutely use that! I didn’t in this tutorial, because it’s a little harder to work with when you’re first learning, but I’ll give you instructions on how to use it, if you so choose.
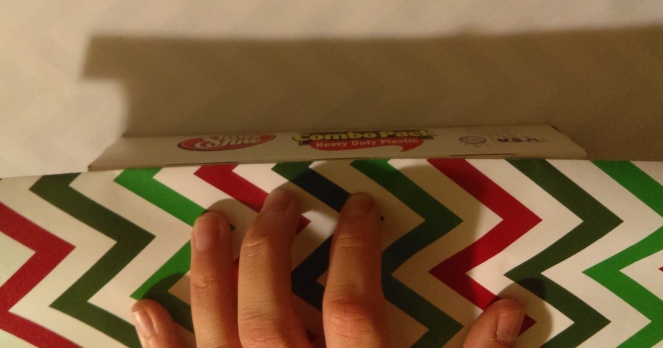
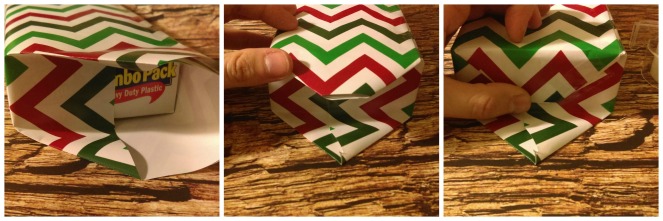
This first thing you’ll want to do after gathering your materials, is measure and cut your paper. You want to make sure the paper goes all the way around your box, and then some. Measure however you want, just make sure you have room to work on both ends and plenty of overlap. You can position your box however you like; I prefer to have the smallest sides be the ends, but that’s just personal preference.
Your next step is to get a straight edge. If you’re working with a new roll, you’re already there! If not, you’ll need to get a nice, straight, even crease. I do this by folding up a small lip and lining it up to a straight side of the piece. From there, just crease across to the other side.
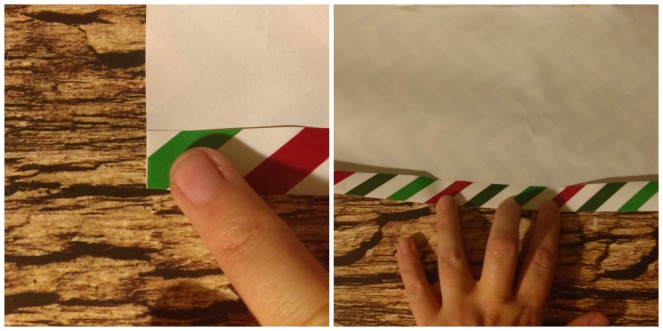
This is where you’re going to start lining things up. Your straight edge/crease is going to be on a corner, so that it’s hidden. So pick a corner (I use the top corner farthest from me, but that’s personal preference) and line your edge/crease up precisely.
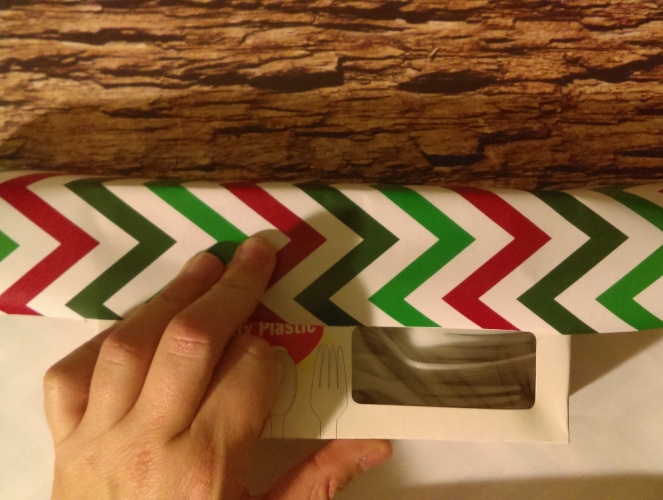
Now that you have that lined up precisely, hold it in place there while you pull the paper taut and crease the top edge closest to you. Pull it taut again, and then crease the bottom edge closest to you. Pull it taut again, and then crease the final edge, the bottom farthest. Now that everything is taut and creased, you can let go of your top edge/crease, and pull the remainder of the paper over the corner where the edge/crease had been.
 (All of these pictures are from the perspective of the wrapper, if that helps.)
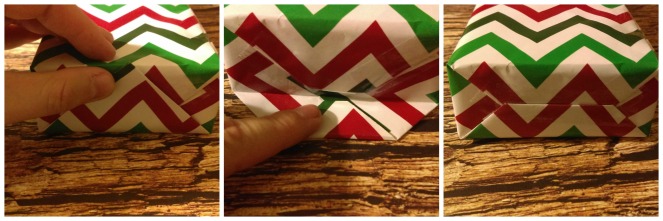
I’m a big fan of tape. Have I mentioned that yet? I probably go a little overboard with the tape (it may or may not be a battle to open my presents from time to time), but I like things to stay in place. Not a fan of tape? No worries. It takes a little more handiwork, but you can definitely skip some of the tape steps. Like this next one! I like to put a tiny piece of tape right there in the middle, just to keep things from moving around on me.
Once you’ve got the paper secured to your box, this is where the magic happens. If you pulled everything taut and creased all the edges, your top piece with the straight edge/crease should fall perfectly in line with that corner. Make sure everything lines up, and then tape it onto the corner
Double-sided: Line the length of that corner with double-sided. Then you just pull that straight edge/crease back up and over the secured corner. Set your straight edge/crease right onto the corner, right on top of the double-sided.
And voila! Hidden seam!
So now we need to take care of the ends.
Start with the one of your choosing, and fold one of the sides in (I always go left to right, because books, but either way works!). Crease everything. If there’s one takeaway from this wrap lesson, it’s crease. Crease the hell out of everything you can.
Then do the other side.
Your top flap will be a little longer than necessary, so just trim a touch off. Not too much, the longer that flap is, the flatter that side will be when fully wrapped.
Fold the flap down and crease the top edge, then secure the two diagonal sides with tape.
Double-sided: line the underside of the top flap with double-sided, on the 2 diagonal sides. Truthfully, you can put the double-sided wherever you like on the underside of that top flap, but it’ll lay flattest if you use those diagonal sides. Then simply fold the flap down, secure the flap, and crease the top edge.
Then fold up your bottom flap and crease the bottom edge.
Again, it’ll be a tad bit longer than you need, so trim just a touch off the top. Then bring the flap back to the surface you’re working on, and fold it in half towards your box.
Fold up the flap. Secure all 3 edges with tape.
Double-sided: Line all 3 sides of this flap with double-sided tape, and then fold up.
If you’ve folded and creased correctly, the corner of the 2nd flap should line up with the edges of the 1st flap.
Then do the same thing on the other end.
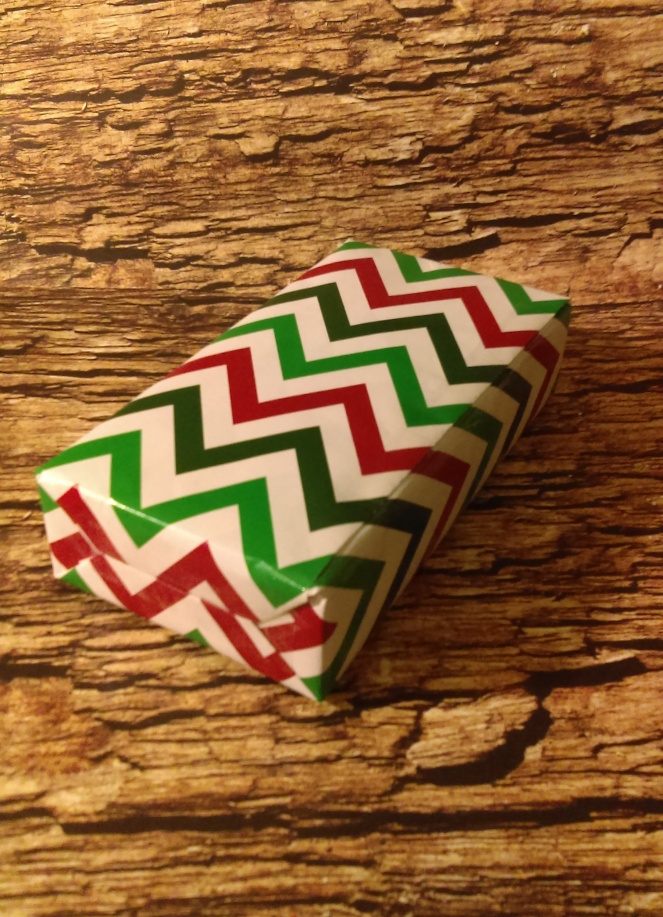
And bam! A flawlessly wrapped gift, with neat ends and no visible seam!
Of course, the actual paper wrapping is only half the battle. Stay tuned for volume 2 tomorrow — the bow!

